I find connections among books, art, music, libraries, travel, crafts and food.
Showing posts with label Book arts. Show all posts

Monday, November 3, 2014

A Book a Week 2014. Week 34

Week of 25 August
Little books class.

I planned this class to be one in which we used found paper and the bindings were simple.

Here I found these cool paint chips at the store, and did a modified Japanese Stab Binding, with eyelets.


Here I used pages from an old Readers Digest book, paint chips, and a fake flower stamen from the craft store. Can't find an easier binding than that:


This binding was probably too hard for this class. I used playing cards as covers for this Coptic Binding.

This might be in competition for the easiest binding. I took store bought notepads, and glued pretty paper on the cover.


Kind of a match book style, I folded in half a paint chip and bound it with a Japanese Stab Binding with small washers.

and I lined it with pretty roses and cute roller skates paper:

Friday, August 15, 2014

A Book a Week 2014: Made, Altered, Repaired. Week 28

Week of 14 July

Another Japanese Stab binding class!

This time I had 4 projects ready to assemble. The 3 smaller books' sizes were determined by the scrapbook paper leftovers from a previous class. I don't like to waste paper. And I like to think up projects from my materials at hand. The 4th book uses the covers of previously discarded books, so, yay recycling! It was nice working our way up from smaller projects to the the larger one, so we the stitching became more natural.

I took photos of everyone's books, but my camera was being funky and half of them turned out fuzzy. So, I decided to do a quick photo edit to make them easier on the eyes. I used Photocat because I like the name, and it turns out, it was super-easy and fun.


Oh look! You can see my cute skirt in this one!


Wednesday, August 13, 2014

A Book a Week 2014: Made, Altered, Repaired. Week 27

Week of 7 July


Wedding Guest Book

My nephew is getting married! We're tickled pink and delighted with their beautiful themes of vintage green and bicycles. I found a great 1950s set of green glass salad bowl with matching individual bowls, like this. I made them a set of 8 napkins with bicycle fabric.

I proposed that I make them a guest book using this roll of 1950s green chinoiserie [a word, which here means: the imitation or evocation of Chinese motifs and techniques in Western art] wallpaper.

My cool cousin Kathy and her amazing husband, Elton, bought this great 1950s ranch style house near Lake Mendota in Madison, WI. Kathy found a couple rolls of the original wallpaper in a closet and let me (paper hoarder) have them. The family who built it were the only previous inhabitants, so the original everything was amazingly preserved. My hubby and I took the old couch to grad school with us. It looked like this:
only ours was brown. Its best feature was it was 7 feet long, so anyone could sleep over comfortably!

I digress. I wanted the guest book to be able to lay flat while people write in it, so I was thinking of doing a coptic stitch, but I've done so many of those this year. I also wanted the paper to be a nice thick art paper and the pages to be large. I also wanted to add a little color, so here's what I came up with:


Here's my process:
Gather materials -


I cut strips out of 3 shades of textured Murano art paper, and folded them 3 times.
 Marking the holes.
 Here you can see how I folded them:
 poked holes...
 You can see the stitching here, but you won't see it when it's done. I'm sewing the big white sheets to the green extended spine before I sew up the spine.


I used 3 different greens for the spine, doing a traditional sewing on tapes.
I added a muslin super, cutting slits for the tapes:

I glued the tapes to the muslin.

Now for the case:
I'm doing a quarter bound book, so using bookcloth on the spine. I measure out the width of the spine plus the thickness of the board, add a strip of bookcloth to the spine for sturdiness, and only glue the edge to the boards.

Use your bone folder to make nice sharp creases and gutters.
 You can really see the pretty texture of the wallpaper here.
To make a nice corner, first fold one corner down with the bone folder:

 Glue it up
 Make a nice fold. Not bad!
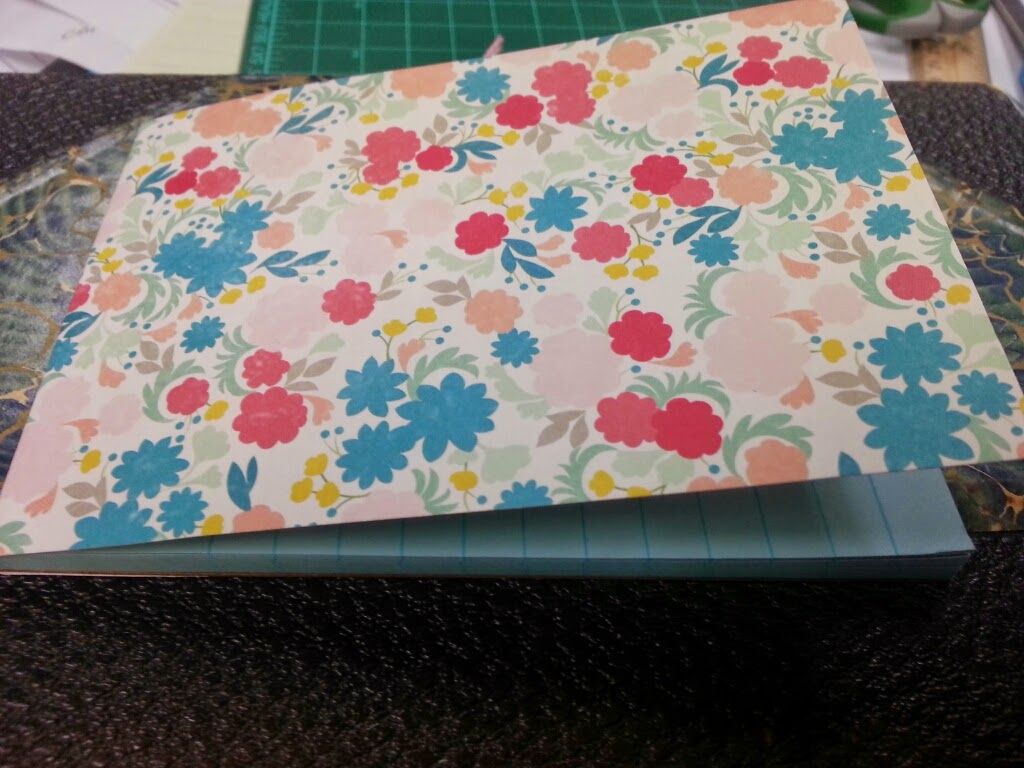
Add pretty endsheets to complete hinging your text block to your case.
 Make a 1/4 inch crease as a carrier for your glue.
 The only thing attaching the fly leaf to the text block is that thin bit of glue. The other half is glued down to the board. I love this Italian paper.


Wednesday, August 6, 2014

A Book a Week 2014: Made, Altered, Repaired. Week 31

Week of 4 Aug

Belgian Binding Class!

I was really impressed with the folks who came to try out Belgian Binding. It is not an easy or beginning binding, but everyone concentrated and we learned from each other as we went. I loved the beautiful color combinations each person chose, to go with their upcycled Readers' Digest book covers.


I buy large packs of pretty scrapbook paper, and use those sheets as covers for each signature. It's fun to find a theme of papers related by color, hue or design. Students matched signature covers with their RD book covers.


I like to use a variety of crochet thread to bind books. They come in so many colors, and even multi-colored threads: